

『文字に光が流れるアニメーションGIF』をプロっぽい作り方でかっこよくアップグレードしよう!
こんにちは!広告会社でデザイナーをしている、かじゅうです!
下記の画像をご覧ください。
右側(bad)は光の線が左から右に流れているだけのアニメーションです。
対して左側(good)は、やわらかい光が流れているように見えます。
『文字に光が流れるアニメーションGIF』を作る時は、やわらかい光を意識すると良いです。光線が左から右へ移動するだけではイマイチです。(ダメとは言っていない)
この記事では、左側(good)のような『自然でやわらかい光が流れるアニメーションGIF』の作成方法を紹介します。
文字に光が流れるアニメーションGIFの作り方
Photoshopの『ビデオタイムライン』機能を使用して作成していきます。
手順の流れは下記のとおりです。
- テキストを入力
- 光線を描く
- タイムラインで光のアニメーションを作成
- テキストに光彩をつける
ビデオタイムライン機能を使ったアニメーションGIFの作成はメリットが多くおススメです。
▼アニメーションGIF(動く文字)のギャラリーページです。
こちらでまとめているGIFはPhotoshopの『タイムライン機能』で作成しています。
テキストを入力する

任意のテキストを入力します。
太いウェイトの方が光っていることが良く分かります
光を描く

新規レイヤーに柔らかいブラシで光を描きます。
テキストを覆うような光だと良いです。
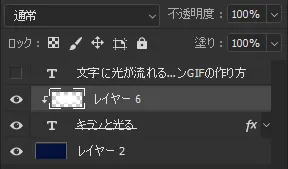
テキストレイヤーに対してを作成します。
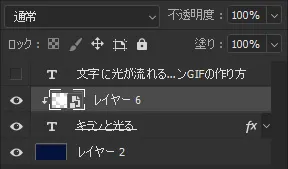
光のレイヤーをに変更します。
タイムラインで光のアニメーションを作成

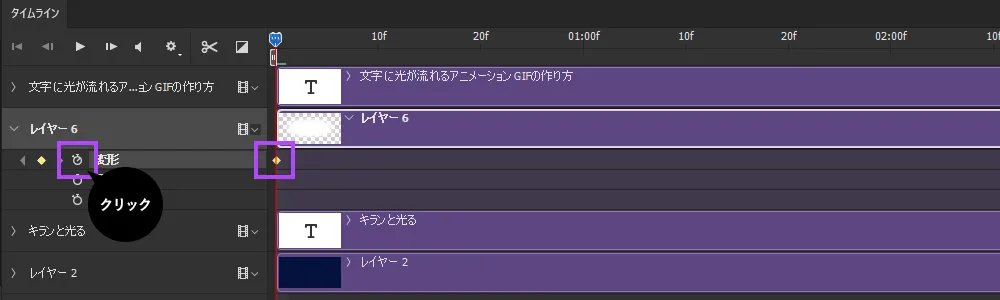
シークバーが0フレームにあることを確認して、光レイヤーの変形キーフレームを打ちます。
光レイヤーを見えなくなるまで左側へ縮小します。
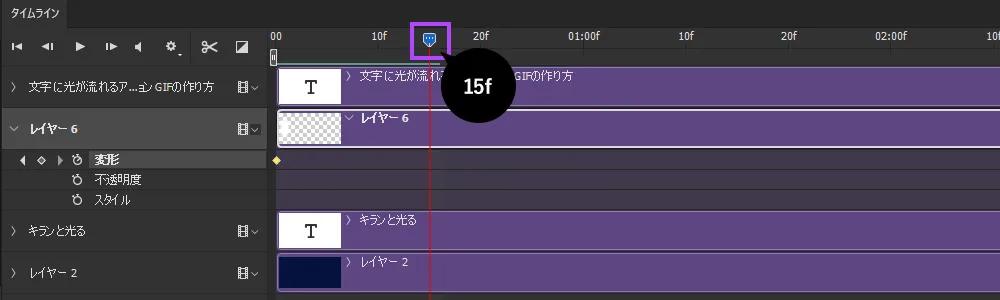
シークバーを『15f』へ移動します。
テキストの右側に光が消えていくように縮小します。
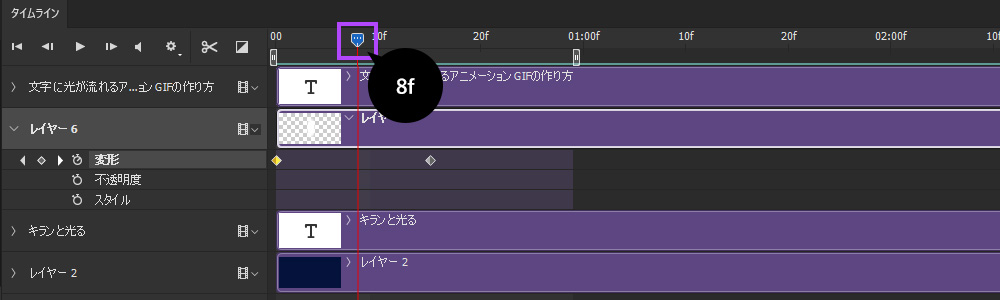
シークバーを『8f』へ移動します。
テキスト全体が光に覆われるように拡大します。
ここまでの作業で再生してみると下記のようになります。

テキストに光彩をプラスする
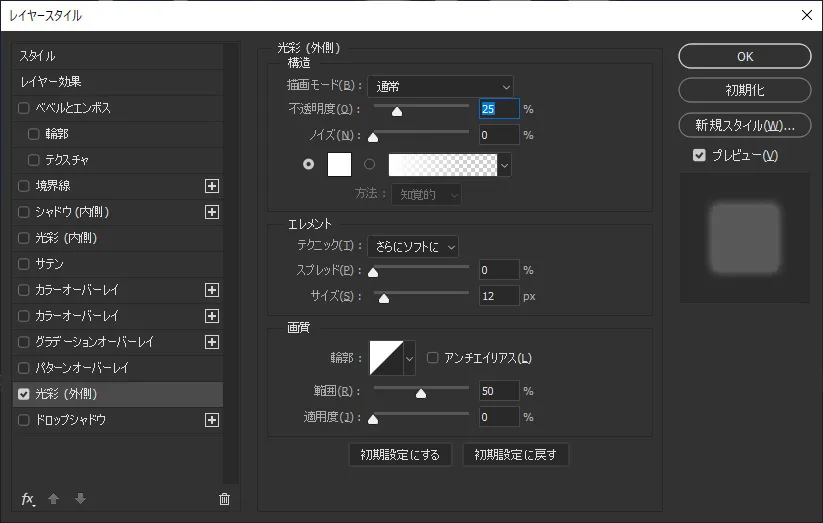
テキストにレイヤースタイルから『光彩』をつけます。
- 色:白(#ffffff)
- 不透明度:25%
- サイズ:12px
不透明度やサイズは、作成するテキストの大きさに合わせて変更してください

光彩はやや光っている感じを意識します。
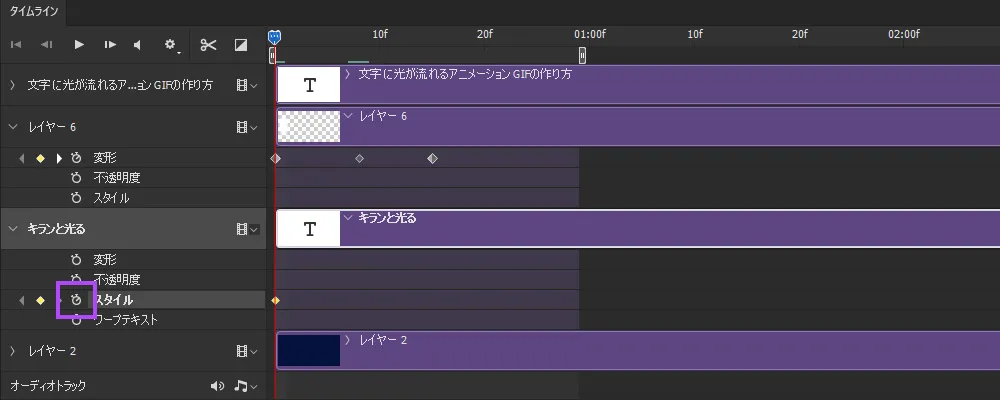
『タイムライン』のテキストレイヤーを選択して『0f』の位置にキーフレームを置きます。
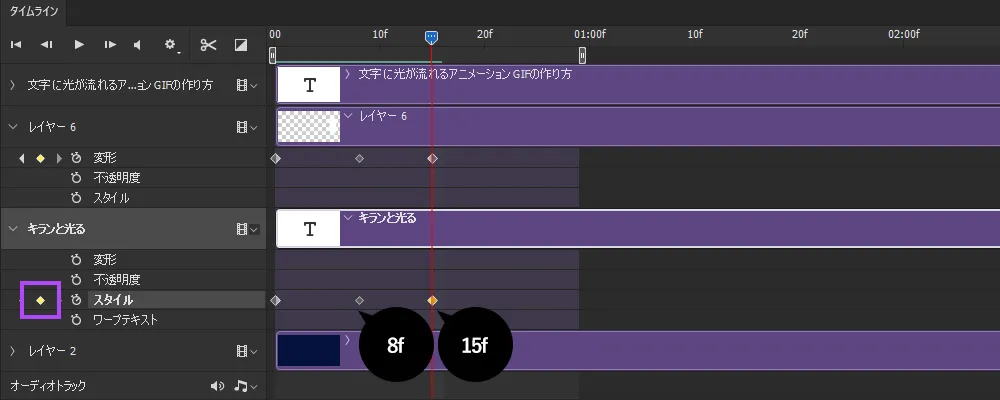
『8f』『15f』にもキーフレームを置きます。キーフレームの設置はひし形のアイコンをクリックします。
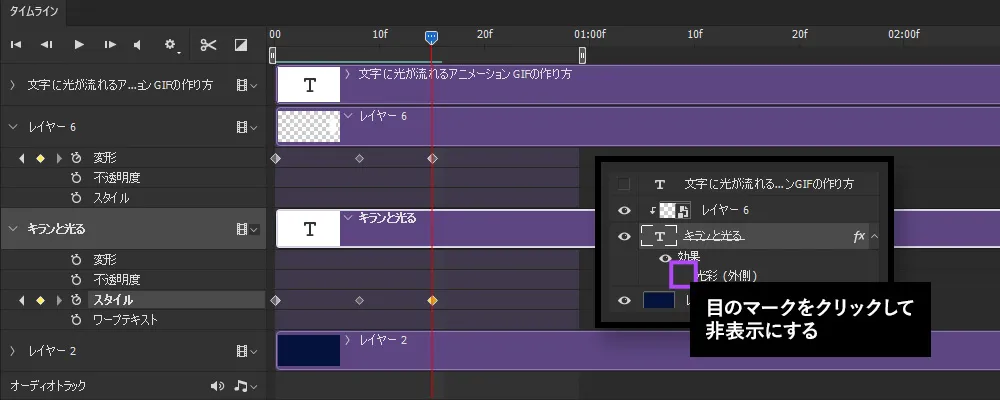
『15f』にシークバーを合わせて、テキストレイヤーの『光彩』を非表示にします。
同じ手順を『0f』の位置でも行います。

『0f』~『8f』にかけてテキストに光彩がつき『15f』目までで光彩が消えるアニメーションが出来ます。
以上で『文字に光が流れるアニメーションGIFの作り方』を終わります。